The images here can be printed, cut out, and stuck on wooden bookends.
This then gives the impression of a road or rail tunnel, running through your books, with the addition of a model bus (1:76 scale) or HO guage train and tracks.
It is based on the Staple Bend Tunnel near Johnstown, Pennsylvania, USA, although my version has been reduced in width. No railway tunnels were harmed in the making of this webpage.
The processes and images below are free to use (public domain) but I am quite happy if you:
These are composite images, created using a Linux-based PC and the programs GIMP and Inkscape. They include images taken from my free images webpage.
Tunnel options.
These are mock-ups of how the bookends may look when using the various options.
|
The road and a book cover options,
and when fitted with a model bus.
Click image to see a larger version.
|
The railway and a book cover options,
and when fitted with a model train and track.
Click image to see a much larger version.
This image was made before I reduced the
width of the tunnel facade.
|
The railway and a stone sides / top options,
and when fitted with a sawn-off model train and track.
Click image to see a much larger version.
This image was also made before I reduced the
width of the tunnel facade.
|
|
A further option of pretend DVD covers are also available.
|
Construction.
- Materials / structure.
- A - Upright.
- B - Base.
- D - Screws or dowels, and holes for same.
- E - Holes drilled for attaching model.
- F - Saw-cut channel to take wire from the above.
- Wood glue and, possibly, screws.
- You will also need some stick-on beize to go on the underneath of the base
(surface 10).
- Portability.
- If you choose to fasten the Upright and Base using dowels and glue, then this should be strong.
However, you may want to be able to flat-pack the bookends - for posting as a gift, etc.
In this case, use screws instead.
- Choosing your wood.
- The upright will need to be around 13mm. (or half an inch) thick
(TA).
- It will need to be cut with the wood grain running vertically for maximum strength.
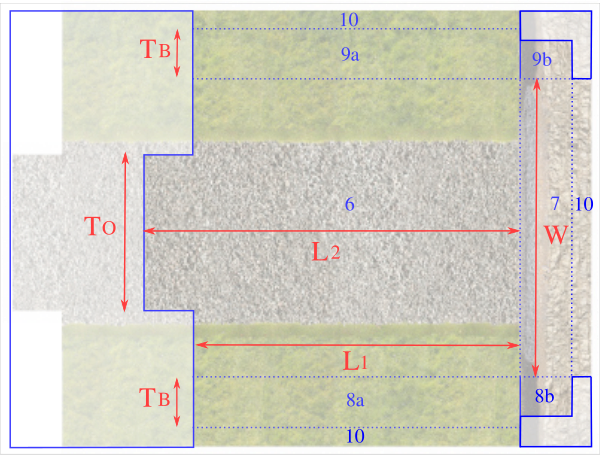
- The base will need to be thick enough (TB)
to give the bookend weight.
- Allowing for the model.
- You will need to decide if your model is going to extend into the tunnel mouth.
- If so, the measurement L2
will need to be a navvy-gravvy longer than your model.
- If not, then that's what you need for the measurement L1.
- Then L2 will be that plus the thickness of the
upright TA.
- In order to keep your model from being dropped, I suggest drilling holes (E) in the base.
Then you can insert a twist-tie (or a bit of wire) up through one hole,
loop it through an axle, etc. where it will be out of sight,
and then push it down through the next hole.
Finally, you can twist the tie (or wire) and lay it flat in the groove (F).
This will prevent it from scratching your shelf, etc.
- If you are fitting a cut-off model, then you may need to use another set of holes
and tie to hold a block supporting the cut-off end of the model.
|
|
Cutting out.
- Use your draft printed tunnel facade as a pattern for the upright (A),
remembering that it will need an extra height allowance for the thickness of the base
(TB).
- Now cut out the base, making sure that its width (W)
matches that of the upright.
and that its tongue fits into the bottom of the tunnel mouth
(not tightly or you may crack the upright).
- Turn the base upside down and make the saw cut(s) (F). Then drill the holes (E) down from these.
A small amount of countersinking on both sides will help tidy up the holes.
You will have to sand the surfaces at this stage.
- I suggest that, at this time, you spray the inside of the tunnel black (from the back).
Then paint the rest of the upright a cream colour and the base a green
(all except the joining surfaces).
This will allow for any discrepancies between the prints and the wood.
- Now clamp the base and upright together (making sure they're at right angles).
Then drill them for some dowels (D) and / or screws.
- Cut out your final print of the facade, trim off the bottom so that it
ends level with the base when it's in place, and stick it on the upright
(surface 1).
- Now is the time to glue the base to the upright, remembering to insert (and glue) the dowels.
- Once set, cut out the print for the base (as shown here), to fit the top surface
(6).
It needs to be cut along the solid blue lines and folded along the dotted ones.
- Stick down the cross-section (7) to the end of the base.
Wrap its ends around onto the sides of the base (8b
and (9b).
Carry it round to the bottom (10).
- Stick the sides (8a and 9a) down
and carry them round to the bottom (10).
- Cut out the required top (2) and side (3)
and stick those in place.
- You may wish to use a clear varnish to protect the surfaces.
- Once dry, fit your model (as described above).
- The beize should now be stuck on the bottom of the whole assembly.
|
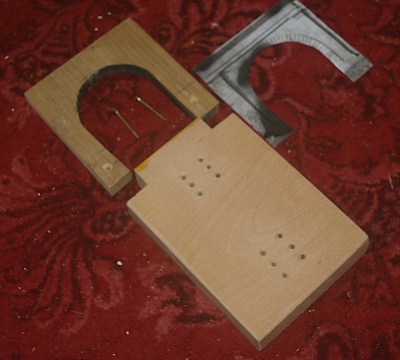
This shows a cut-out bookend with a draft print of the facade,
which has been tacked on the wood and sprayed round
to mark for cutting, etc.
|
Bookend printing if you have GIMP.
Just printing from GIMP should produce the correct scale - only needing the sides' widths adjusted to fit.
I suggest printing in Greyscale and Draft until you are happy with their size. Then you can use these for patterns for cutting the wood.
|
|
The tunnel facade.
Using GIMP, the optional layers can be changed to:
- for roads:
- the road sign can be made invisible if it's too modern for the model vehicle.
- for railways:
- the road sign should be made invisible.
This ZIP file (2364 x 2019) - 7.5MB.
|
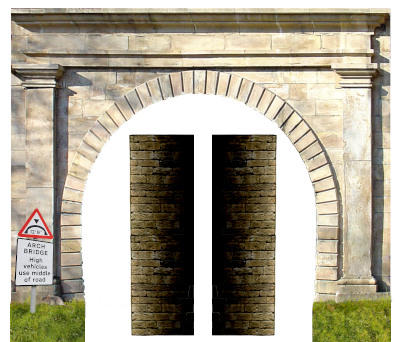
Click the image to download the GIMP file.
|
|
The Base.
- Using GIMP, the optional layers can be changed to:
- for both:
- the length of surface can be trimmed to suit a shorter bookend
or you could just use some scissors.
- for roads:
- they should be suitable as they are.
- for railways:
- the road surface can be turned off and the railway gravel turned on.
This ZIP file (3739 x 2764) - 40.5MB.
|
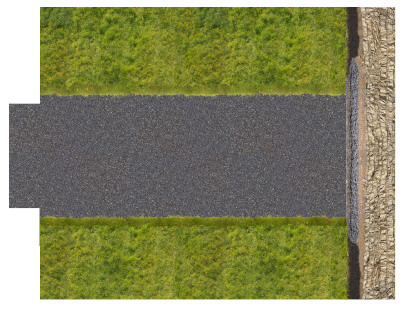
Click the image to download the GIMP file.
|
|
The Sides and Top.
Using GIMP, the optional layers can be:
- resized to suit the thickness of wood used,
- and selected as:
- options A or B for the sides to look like part of the bridge.
- option C for the side and top to look like Heinlien's "Tunnel in the Sky" book.
- option D for them to look like a Railway Defective book.
This ZIP file (4378 x 2832) - 16.5MB.
|
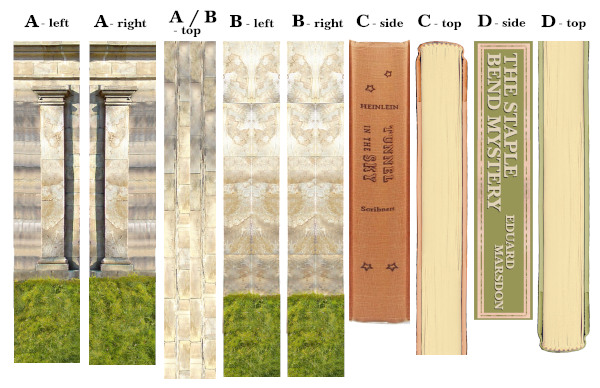
Click the image to download the GIMP file.
|
|
The back of the upright.
These are various images which you can use to complete the bookend's appearance of being a book or DVD.
Using GIMP, the layers in these can be fiddled around with to change the appearance or title.
|
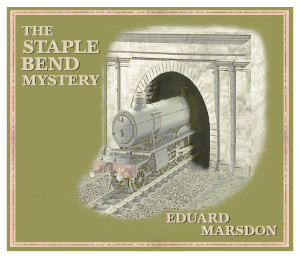
Click the image to download the GIMP file.
This ZIP file (2125 x 1830) - 5.3MB.
|
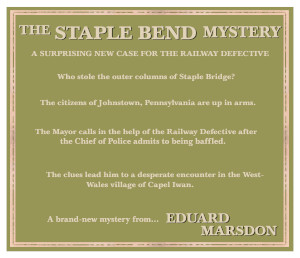
Click the image to download the GIMP file.
This ZIP file (2125 x 1830) - 1.1MB.
|
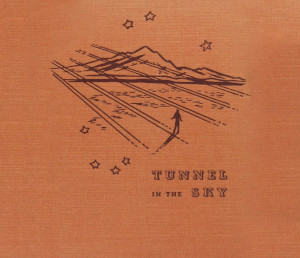
Click the image to download the GIMP file.
This ZIP file (2125 x 1830) - 8.1MB.
|
Click the image to download the GIMP file.
This ZIP file (2125 x 1830) - 6.3MB.
|
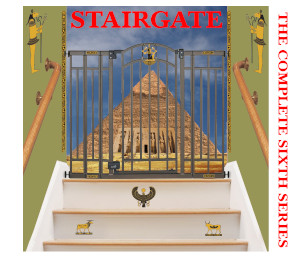
Click the image to download the GIMP file.
This ZIP file (2928 x 2522) - 12.1MB.
|
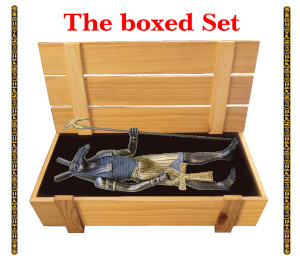
Click the image to download the GIMP file.
This ZIP file (1055 x 913) - 1.1MB.
|

Click the image to download the GIMP image.
This ZIP file (3072 x 2623) - 9.7MB.
The same image will have to do for the back
cover as well.
|
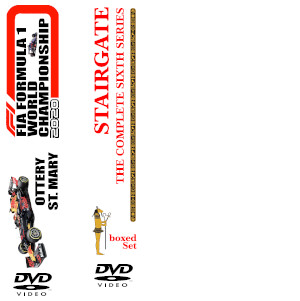
Click the image to download the GIMP image.
This ZIP file (3677 x 3689) - 2.2MB.
This can be used for the front of the DVD boxes.
The tops can be the same, or just white.
|
Bookend printing using JPG images.
Using the JPG files, you cannot change what's selected. Just choose the appropriate file to download.
These files will need to be scaled when printing to produce the correct scale.
However the sides' widths will need to be adjusted to fit.
I suggest printing in Greyscale and Draft until you are happy with their size. Then you can use these for patterns for cutting the wood.
|
|
The tunnel facade.
Choose the appropriate image file to download.
However, for roads, if the road sign is too modern for the model vehicle, then simply choose the railway version.
These files (2364 x 2019) - 1.1MB.
|
For roads

Click the image to download the full JPG file.
|
For railways
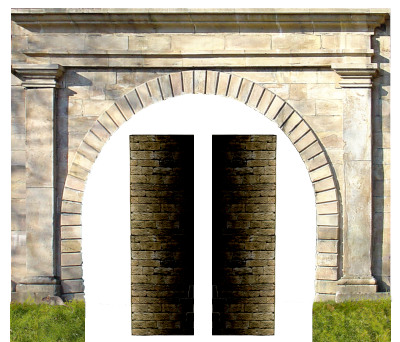
Click the image to download the full JPG file.
|
|
The Base.
The length of surface can be trimmed to suit a shorter bookend using some scissors.
These files (3739 x 2764) - 6MB.
|
For roads

Click the image to download the JPG file.
|
For railways
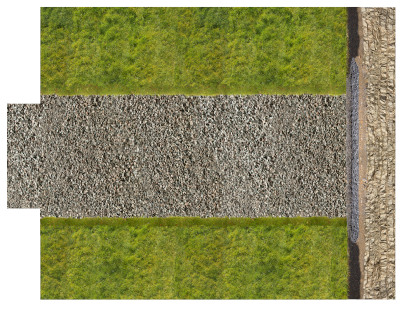
Click the image to download the JPG file.
|
|
The Sides and Top.
- Just cut out the chosen sections after printing with a suitable width:
- options A or B for the sides to look like part of the bridge.
- option C for the side and top to look like Heinlien's "Tunnel in the Sky" book.
- option D for them to look like a Railway Defective book.
This files are (4378 x 2832) - 24.5MB.
|

Click the image to download the JPG file.
|
The back of the upright.
These are various images which you can use to complete the bookend's appearance of being a book or DVD.
|

Click the image to download the JPG file.
This file (4249 x 3660) - 2.2MB.
|

Click the image to download the JPG file.
This file (4249 x 3660) - 1MB.
|

Click the image to download the JPG file.
This file (2125 x 1830) - 848KB.
|

Click the image to download the file file.
This file (2125 x 1830) - 597KB.
|

Click the image to download the JPG image.
This file (3660 x 3152) - 1.8MB.
|

Click the image to download the JPG image.
This file (1055 x 913) - 221KB.
|

Click the image to download the JPG image.
This file (3072 x 2623) - 1.4MB.
The same image will have to do for the back
cover as well.
|

Click the image to download the JPG image.
This file (4902 x 4918) - 1.2MB.
This can be used for the front of the DVD boxes.
The tops can be the same, or just white.
|
Please let me know if the above worked for you, or if you found any mistakes.
This page last updated 15th. August 2020.
Text only © Copyright Jim Batten, 2019-2020.


